
In today’s i want to know you how to use a drill press. So I have found this little bench top drill press. Here, this is all i use a drill press and you learn something new about a drill press whole a lot just to use it in your project after buying a drill press within your budget.
Points to watch out Before using a drill press
- Don’t use your arm. The risk of getting caught is high, which leads to an accident such as the loss of fingers
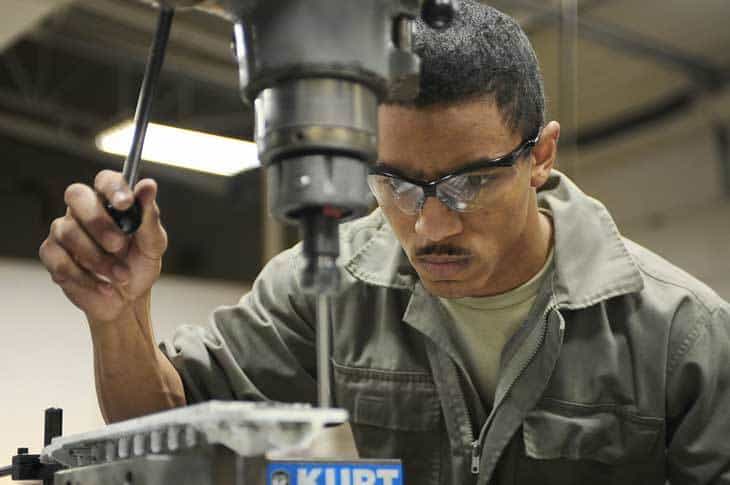
- Wear protective glasses to protect your eyes from cutting marks.
- Combine long hair behind your head. Better to put together with a hat, etc., so that the end is not caught.
- Use a vise or other material to fix it securely.
- Make sure to use the drill appropriate for the material. For example, brass and acrylic are easy to drill with ordinary drills and dangerous, so use drills without rake corners.
Things you should know before knowing how to use a drill press !
whether it’s a big one or a little one really the main differences on the size of the motor and the distance between the chuck and the table base. I suppose the distance as throat distance here is well from the support pool to the center chuck. Again Some of the drill press are magnetic drill press which use magnetization power to hold the drill press tightly in a place. So check the market and get the best magnetic drill machines .
In my case you know like that i don’t need a lot of size for the drill press. This is what i use and it’s basically has all the same functions and settings to use as most of the bigger ones.
Most of them basically, what you’re going to have, you’re going to have a chuck that looks just like an old screw drill chuck, were you need a key here too for tightening and loosening.
But you can look in that there has a handle here on the side. That you can rotate to make the actual depth adjustment or the the actual drilling motion into whatever you are going to drill.
You have On and Off switch of some kind to give power to the drill press.On one side of the drill press you’ll have probably some kind of adjustments stops. Here , The depth of board that you’re doing and so it can be adjusted easily.
You’re going to be able to adjust your table sideways tilting left to right or right to left as your requirement. and you’re also going to be able to adjust it for the height. The height between the bottom of the chuck and the table surface can be adjusted easily.
Now it’s kind of hard to probably tell here. Generally your drill press come with an iron base probably a cast iron based.
Here I just put a sacrificial wood on the supportive cast iron base. So if I’m cutting holes or whatever. It will come through the sacrificial wood what i’m drilling such this surface without hurting the drill or the instrument that i’m using.
Where if you do that with the cast iron one, you’ve got to be a lot more careful to stay within the little hole that they have in there.
For avoiding any rough use of the the drill press, you should screw a piece of scrap on the existing cast iron base table that came with the drill press.Most of them are going to be set up with a motor hanging off the back here. And you have a pulley system on top of the drill press. So we got the pulley system. Here you’ve got to set up pulleys right on the direct drive on the motor. And you’ve got to set of pulleys on the spindle drive.In the upper box, there has a chart where you find a list of speed. With setting up the combination of this speed, you can cut different materials.You probably will hardly ever change this if you’re cutting the same kind of material all the time.
You just tighten up or loosen the belt by adjusting the knob of the motor. Here you have got some drill bits like twist bits,spade bits, spindle sanders and other kinds of bits you need to use. Any other stuff which fit in the size of the chuck will work.So you’re just going to put a simple twist bit into the spindle. So you open your chuck up until the shaft or whatever you’re putting in the spindle is going to fit. You get to just kind of hand snug tight and tighten up with the key.Now plug it back to give power to the machine. you should be mentioned the safety. You should be careful as the spindle is spinning out a pretty high rate of speed like over one thousand rotation per minutes. You you must make sure that you are not going to loose any cloths which has a chance to get wrapped with spindle.
Again if you have long hair. Then make sure that it’s not tied back with spindle.Those sorts of things you should avoid specially jewelry.
steps of drilling
- Fix the material on the work table and mount the drill bit on the spindle. In the case of metal processing, apply cutting oil to the tip of the drill.
- Turn on the switch and confirm that the rotation of the drill bit is stable.
- By pushing or turning the handle on the right of the main body, the drilled spindle lowers and the hole opens.
- If you want to make a deep hole in metal processing, make a hole halfway, return to the mouth of the drill hole once and repeat the hole several times. In this way, the cutting oil gets into the hole and the chips are less likely to get clogged.